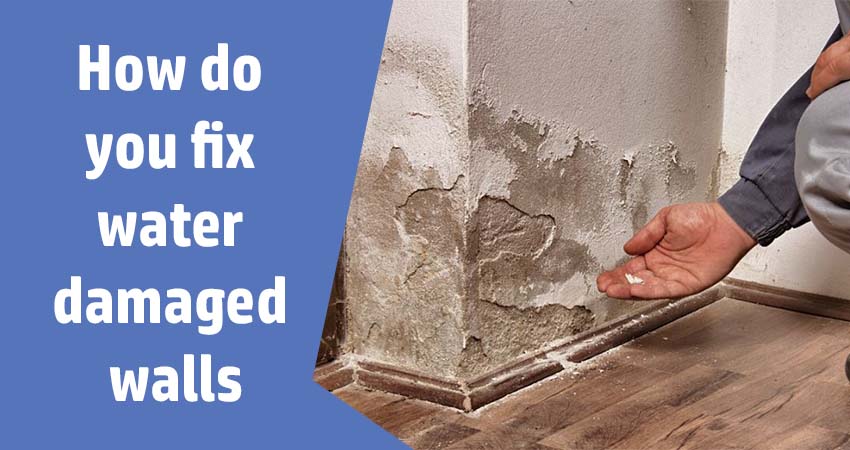
You have found a patch in the wall that starts to bubble up. It could be a leak on your wall. You need to fix it. Otherwise, it could be a significant problem in the future. Again, If you do not adjust your water-damaged walls, you may be exposed to a flood-prone area in your home. Repairing water damage is not a fun game. In this article, we are going to talk about the steps on how do you fix water damaged walls.
Steps-How Do You Fix Water Damaged Walls?
Water damage usually refers to water that enters your home through cracks in the foundation, floods, broken pipes, or other means. Fixing water damage walls is not a complicated task, instead of a little time-consuming. Follow the steps and repair your water damaged walls.
Step 1: Take Safety Precautions
First, you need to turn off the circuit breakers for safety purposes. Remove the unaffected electrical outlets before dispersing the contents of the wall. If the outlets are flooded, remove them.
Step 2: Identify the Leak
You will need to identify the source of the water to begin addressing the water damaged wall. Water can travel far beyond the leak space and cause damage to unexpected areas. If you do not know where the leak is, contact a plumber to help you. Without identifying the source of the water, problems will arise again.
Step 3: Clean the Area
When you are identifying the wall, you need to clear the water damaged area. You have questions on how to clean, right? We suggest you to use soap with a damp cloth and then allow it to dry.
Step 4: Assess the Damage
You may be able to fix the water damage depending on the duration of saturation. A heavily saturated wall will collapse at the touch and must be wholly replaced. If the wall is still securely tied to the studs, you may be able to remove a small section of the wall and patch it.
Step 5: Cut a Hole
When you fix the leakage, cut some holes near the water’s damaged area on the wall. It will help to provide ventilation. On the other hand, it will help to dry faster. When cutting the hole, it should be located on each end of the stud.
Step 6: Dry and Patch the Hole
After everything has been done, allow your walls to dry. It can take a day or two. Therefore, you need to wait until it’s dried. It is essential to dry your walls properly to reduce the risk of any mold or germs growing on the walls. In some cases, you may also consider mold testing to ensure there are no hidden issues.
In addition to this, you can use a dehumidifier to dry your wall. It will reduce your time and speed up the process a bit. When it is dry, now it is time to patch it. You need to replace the insulation you have removed before repairing the hole.
Step 7: Apply Water-Based Sealer or Primer
After you have patched all the holes, you can apply a water-based sealer or primer to the wall. It will help prevent wall water from getting damaged again. A water-based sealer or primer for an internal solution is the preferred application. Furthermore, it allows for painting better stick on the wall.
Step 8: Paint the Wall
Once you have finished priming or sealing the wall, you will need to paint the entire wall to match everything. It will take a lot of time and materials to do this, but the finished result will be a perfect wall.
Step 9: For Significant Damage
If you have significant water damage walls, you should check your insurance to find out how much damage is covered. Sudden events are more likely to include than slow ones, so it is vital to act fast.
Recommended Article:
- 9 Effective Tips You Should Implement for Mold Removal
- 6 Horror Stories of Amateur Painters
- The Best Advantages Of Buying Mini Fridge
Conclusion
Fixing water damaged walls is not a difficult task, nor is it an easy task. You need to do it step by step as like the provided steps on how do you fix water damaged walls. Read the article thoroughly and follow the steps correctly. Hopefully, in this way, now you can able to set your water damaged wall.