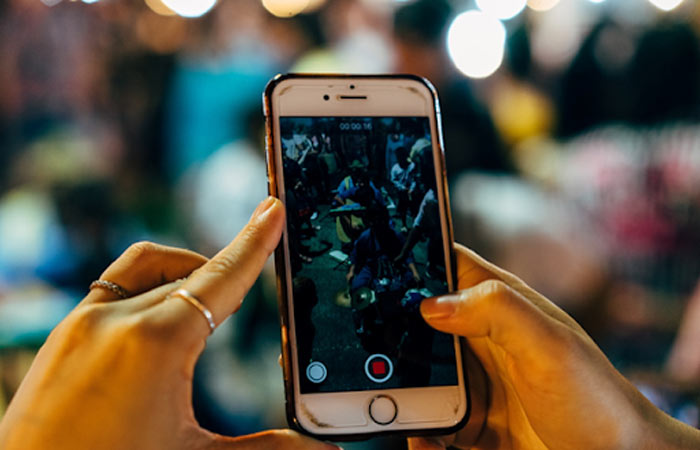
While not the most popular app on your iPhone, a screen recorder is an incredibly useful feature for various reasons. You can use it to record your screen and show off your gaming skills or create a quick walkthrough video to help a friend do something on their iPhone. It also comes in handy when recording how-to videos for your YouTube channel. It also enables you to keep copies of important video calls, live streams, or online videos for future use.

No matter what you’re looking to record, knowing ways of setting up and using the screen recording feature can ensure you make the most out of it. In this post, we’re going to walk you through how to screen record on iPhone:
How to Set Up Your iPhone’s Screen Recorder
Before you start screen recording, you need first to ensure your phone’s screen recorder is enabled. On your iPhone’s settings, open the Control Center to see a screen recorder button. You can locate the button by checking a dot with a circle around it. If it’s already there, screen recording is already enabled on your device. However, if you can’t find the screen recording button, you can enable it by following these simple steps:
- Scroll to the Settings and click on the control center to open it.
- Select customize controls and scroll down to locate the screen recording
- Tap on the green plus icon adjacent to the screen recording icon to add the screen recording button on your menu.
- Swipe down and scroll to the control center, and you will find the screen recording feature enabled on your iPhone.
How to Screen Record On Your iPhone
After enabling the screen recording feature on your iPhone, you can now start to capture your iPhone’s screen. Here’s how to record your screen:
- On new iPhones, swipe down to locate and open the control center. For older iPhones, swipe up from your screen’s bottom, and you’ll see the control center.
- Once in the control center, click on the “screen record” button.
- Tapping the button will initiate a countdown, allowing you 3 seconds to start recording everything on your screen.
- You can know if your screen is recording by checking a red bar across your screen at the top or a red highlight on the time feature.
- Record your screen as much as you want and once you’re done, tap on the red bar across your screen and click the stop button to stop recording. You can also stop your recording by swiping down and taping on the screen recorder icon.
To avoid capturing your phone calls and notifications while recording your screen, consider activating the “do not disturb” mode. This will temporarily help pause your calls and notifications, so you can only capture what you want to record. You can do this by opening your control center and pressing the “do not disturb” button to activate it. You can specify how long you want to use your phone on the “do not disturb” mode.
Read More
- Sure-Shot Way to Recover Deleted Messages on iPhone
- Today How We Can Download Games Free On iPhone
- Thinking of What to Do With Old iPhone? Sell it Today
How to Record Your iPhone Screen With Audio
Consider recording with audio when you want to screen record to guide someone on using a specific feature on their iPhone device or creating how-to videos. Turn your phone’s microphone on, so you can add your narration or voice to your screen recording. Follow these simple steps to turn on your phone’s microphone to record your voice while screen recording:
- On your iPhone, swipe down to open the control center
- Once on the control center, locate the screen recorder button and long-press it
- A new menu will pop up with a toggle for turning on your phone’s microphone. Tap on the microphone button to turn it on. The screen recording will turn red and start recording with audio
Endnote
Using your iPhone’s screen recording feature, you can effortlessly capture high-quality videos of your screen according to your needs. Learning how to use your phone’s screen recorder can help you create your own informational videos with your voice recording for better explaining.
Once you’re done screen recording, you can save your recording in the Photos app on your device. You can view, edit, and crop your recordings as per your needs and even share with friends via email and messages or post on your social media channels.